Top 10 AirPods Pro Tips for iPhone Lovers
Apple’s AirPods Pro is about a year old, but still the best wireless earbuds you can buy. Apple has additional features on the iPhone routinely added through software updates such as iOS 14. Apple recently added spatial audio to the videos you viewed on your iPhone, adding surround sound. This is certainly the case for this year’s AirPods Pro registers, especially if the deal we saw at Black Friday and Cyber Monday continues to be seen.
Read more: Top 5 Must-Have iOS Utility Apps for iPhone and iPad
The AirPods Pro is different from the Apple standard AirPods, although some similarities exist. It works differently. There’s a lot to learn about these real wireless earbuds, from fast pairing and battery level monitoring to active noise cancellation and spatial audio. Below, we’ll walk you through how to master your AirPods Pro.
1. Check battery life
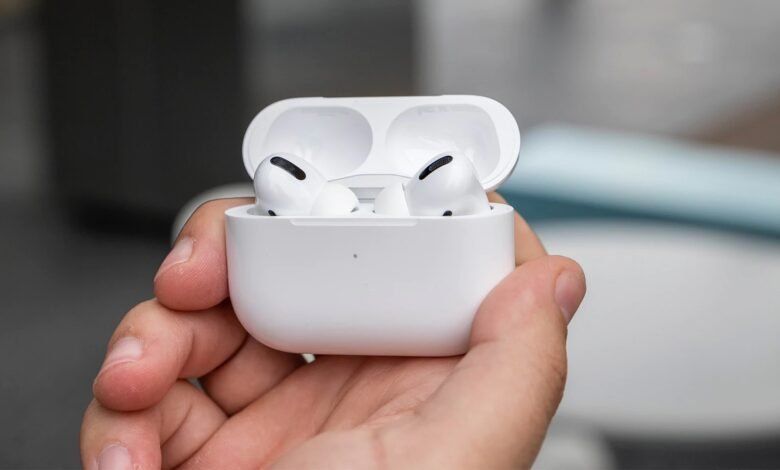
If you want to control your AirPods Pro charge level and charging case, open the case next to your device with the AirPods in it. Unlock your iPhone or iPad and open it. An animation shows each AirPod’s charge level and the case.
2. Use active noise cancellation
The AirPods Pro may have an active noise cancelation headline feature. When enabled, the noise cancelation blocks almost all background noise that you would normally hear with standard earbuds or AirPods. When for example, you work in a noisy office and a home office with a partner and remote learning children, this should help block chat and entertainment.
Read more: How to reinstall deleted apps from your Apple Watch
If you press the long button, you can disable noise cancelation or use your iPhone or iPad’s control center. Swipe the top right angle of the screen on your device, then press the volume slider for a long time if the control center appears. You have three options at the bottom of the screen: noise cancellation, off, and transparency. Tap your desired setting.
3. Using Transparency mode on the AirPods Pro
You are going to listen to the sound of your environment, while also hearing the audio playing on your AirPods Pro when you switch to Transparency mode.
Transparency mode is something you would like when you walk along busy streets to listen to traffic or for example, at an airport to hear about changes to the gate.


With a long-pressed click on the AirPods buttons or using the Control Center button, you can switch to Transparency mode.
4. Use your Apple Watch to switch modes
You can tap the AirPlay icon in the Next Play app when using AirPods Pro to switch between noise cancellation and transparency modes.
Read more: Best Top 12 Weight Loss Apps of 2021
5. Change modes on your Mac
You can switch between noise cancellation and transparency without squeezing one of your AirPods Pro when you are using your AirPods Pro on your Mac. You’ll see an AirPods icon when your earbuds are connected to your Mac when you’ve already updated to macOS Big Sur. Change the mode, click on it. You can click on the speaker icon at the top of your screen in the menu bar and then hover your mouse through your AirPods Pro, then choose the mode that you want to move to.
6. Find the right fit by switching tips
Two other ear tip sizes — the medium size is already installed – are included in the AirPods Pro box. Try them first and you can swap them for another size if they feel uncomfortable. There is no trick to get every AirPod tip, just drag it down and push it on to make another pair. It might feel like you’re going to rub it but they end up coming off from the few swaps I’ve done.
7. Do the Ear Tip Fit Test
You can do the Ear Tip Fit Test if you dive into AirPods Pro settings (try saying that out loud a few times). The test will play some of the sounds on the Microphones of the AirPods and tell you if your ear tips are the right sizes for your ears.
To start the test, select Bluetooth and tap on I next to the name of your AirPods Pro, and open the Settings app on your iPhone. Choose Ear Tip Fit Test and follow the instructions.
Both medium and small ear tips were running the test and the two passed. Don’t feel locked into the first ear tips you’re trying with; there might be different dimensions that work and feel better.
8. Pairing still takes just a few seconds
Unlock your iPhone or iPad and open the load case for your earbuds after unboxing your AirPods Pro. A second or two later, a prompt appears on your system to ask if you want the earbuds paired.
Tap Connect, and you’re done to initiate the pairing. Not only will AirPods Pro work on your iPhone, but all Apple devices that you have logged in to your iCloud account will also work with you.
9. Don’t tap your AirPods Pro, press them
You will use the stems from AirPods Pro as buttons rather than touches on one of the AirPods. Actually, there is no button there it is a pressurized section, which can replicate how a button is to be used. Perhaps you find it strange and confusing, yet you’d expect Apple to do something.
Squeeze the flat end on each AirPod with two fingers. You’ll hear a click in your ear with each press. Here’s what each press of the button does:
- Single-press: Pause/Play
- Double-press: Skip forward
- Triple-press: Skip backward
- Long-press: Switch between noise cancellation and transparency mode.
10. Check the charge status when wirelessly charging the case
The AirPods Pro case will be loaded on the same wireless charging pads with the iPhone wirelessly. Set the case on the pad with a little light up to charge. When the case is first placed on the pad, the light will shine, allowing you to know it loads. But it will end up running out and turning off. Tap the case to verify the case’s load status (green means it has been fully loaded).
The AirPods Pro has plenty more; these other hints and tricks are applicable to all AirPods and should help you master your new wireless earbuds completely. Make sure you check these settings if you have a new iPhone. Then learn all the new features of iOS 14.