How to Build Your High-Performance Portable SSD
If, however, you don’t want to pay high prices, build your own if you have been looking for one of the large-scale portable SSDs. Yes, by building your own portable SSD, you may save these big-brand prices using off-the-shelf components and generally have the same performance and lower cost too.
What type of SSD should you buy?
First, you want to choose a USB SSD box which can be found from about $10 to $50 on websites like Newegg or Amazon and at other electronics stores. You’ll want to know which type of box you want to buy before shopping. Much of that is dependent on what type of SSD you want.
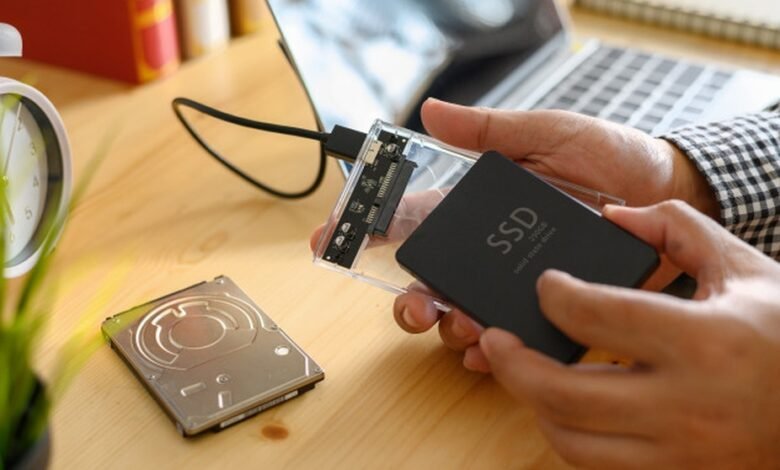
SATA SSDs such as SK Hynix Gold S31 are 2.5-inch and we examined it. They offer excellent read speeds of about 560MBps, although they are not even faster than M.2 PCIe or NVMe SSDs.
You will want to purchase a PCIe and NVMe SSD enclosures if you want to build a USB portable drive to compete with the high-end, large-brand portable SSD’s. Although both types are just as simple, and the 2.5-inch SATA SSD is often more than enough, in this video I’m going to concentrate on the NVMe drive.
For my example, I will be building a drive that will include an Asus ROG Strix Arion enclosure (currently Amazon $54). With an internal SSD SK Hynix Gold P31 NVMe, the maximum bandwidth is reachable from the USB 3.2 Gen 2 interface. This is about 1GBps basically. It’s compatible backward with USB 3.0 and USB 2.0, just like every other USB drive. This enclosure comes with both USB-C and USB-A cables.
How to build a portable SSD
Now that we’ve picked out the parts, let’s get to installing it.
- Reduce any static electricity first before building by touching a metal object like a furniture beam.
- Use the pick tool included in the pinhole near the USB port to open the cover to open the insert. Please put the cover aside and do not touch the adhesive thermal pads. The thermal pads wick the heat in the aluminum body from the high-performance SSD to keep its performance.
- Inside the enclosure, unplug the silver retention screw. Use the pick tool handle to loosen it if it is too tight.
- Take the M.2 SSD and insert it into the slot in the case at a 15-degree angle. The side of the stickers is usually at the top of the drive and on the side of the drive, the contacts with the notch are exposed. The notch on the semi-circle is the side of the holding screw.
- Insert the drive smoothly but firmly before you see the gold contacts. Now take the screw and put it in the notch of the M.2 drive’s semi-circle. Turn down the drive and snugly tilt the retention torch in.
- Take the box cover and line it away from the USB port along the edge and tilt it in. If your deck doesn’t go on, you may want to ensure that you have the drive within and not just under the retention screw.
- Slide on the rubber bumper with the lid and pick up your wire. The two-USB-C cable allows the highest performance. This Gold P31 can reach speeds faster than the USB, so we are not limited to the drive but to the enclosure.
Just remember that the drive and the box are not the only things you can move your files quickly. You are also connected to the port. Generally speeding is usually provided for most laptops or desktop computers that accept USB-Cs. The older but more frequent USB-A varies between very slow and very quickly.
How to format a portable SSD
One final step the drive may need before it’s recognized by Windows is to provision it within the operating system.
- Press and select Disk Management by pressing Windows + X. Disk management should show you the drive attached to your computer which says, for the new drive, “Unallocated” Disc Management. Make sure you don’t select the main drive or another drive that you don’t intend to format.
- Just right-click on the drive to unattributed and select New Simple Volume.
- Choose Next and choose the size of the volume you wish. Default to full drive capacity should be Windows. To assign the drive path, click Next twice.
- Format Partition must be the last window. Click Next then Complete, and Windows is partitioning and formatting your new drive.
You are now ready to use your Portable SSD—and this one has RGB for even more nerd credits! But if you would prefer to skip it all and purchase one ready to roll.